


Scottish Winter Mountaineering Navigation: Why It Matters
Let's be honest. Most people who get into trouble in Scottish winter mountaineering don't lack fitness. They lose track of where they are. Snow fills in the paths, cloud drops over the ridge, and ground that looked obvious on the drive in suddenly looks like nothing you've ever seen. Navigation isn't a nice extra for keen types. It's the skill that gets you off the hill when the weather turns. Here's what changes in winter, what kit earns its place in your pack, and how to practise until it's second nature.
Table of Contents
Quick Takeaways
Key Insight | Explanation |
|---|---|
Carry paper even if you use a phone | A map and compass keep working when batteries die, screens fog up or signal drops. |
Use 1:25k maps on tricky ground | The bigger scale shows more detail, so small features are easier to match to the ground. |
Check the declination diagram before you leave | Grid north and magnetic north differ, and ignoring the gap sends your line off target. |
Count and time every leg | When you can't see, your pace count and watch give you a rough distance and an early warning if something's off. |
Set a turnaround time before you start | Cloud tends to arrive when you feel strongest, so a fixed limit beats summit fever. |
Practise in mild weather first | Skills learned on clear days tend to fall apart in a whiteout unless you've rehearsed them. |
Why Winter Navigation Is Different From Summer
Summer navigation is mostly about spotting the path and following it. In winter, that path is often buried under snow, or it's gone entirely. The boulders, streams and worn tracks you'd normally use as handrails get hidden or disguised, so the land starts to look the same in every direction.

Visibility is the other big change. Winter puts far more demands on the navigator, and cloud can roll in fast on Scottish hills, cutting your view down to a few steps. The bodies that look after Scotland's hills keep repeating this message for good reason. Mountaineering Scotland's ThinkWINTER resource has a page dedicated to winter navigation, and it's worth a read before your next trip.
Snow hides the path
Cairn lines, fence posts and footpath signs can all vanish under a fresh fall. If you've been relying on the trail to do the thinking, you'll find out quickly that it doesn't. Get used to reading the slope, the drainage lines and the shape of the ground instead. Those are the features that survive a snowstorm.
Whiteout doesn't care how good you are
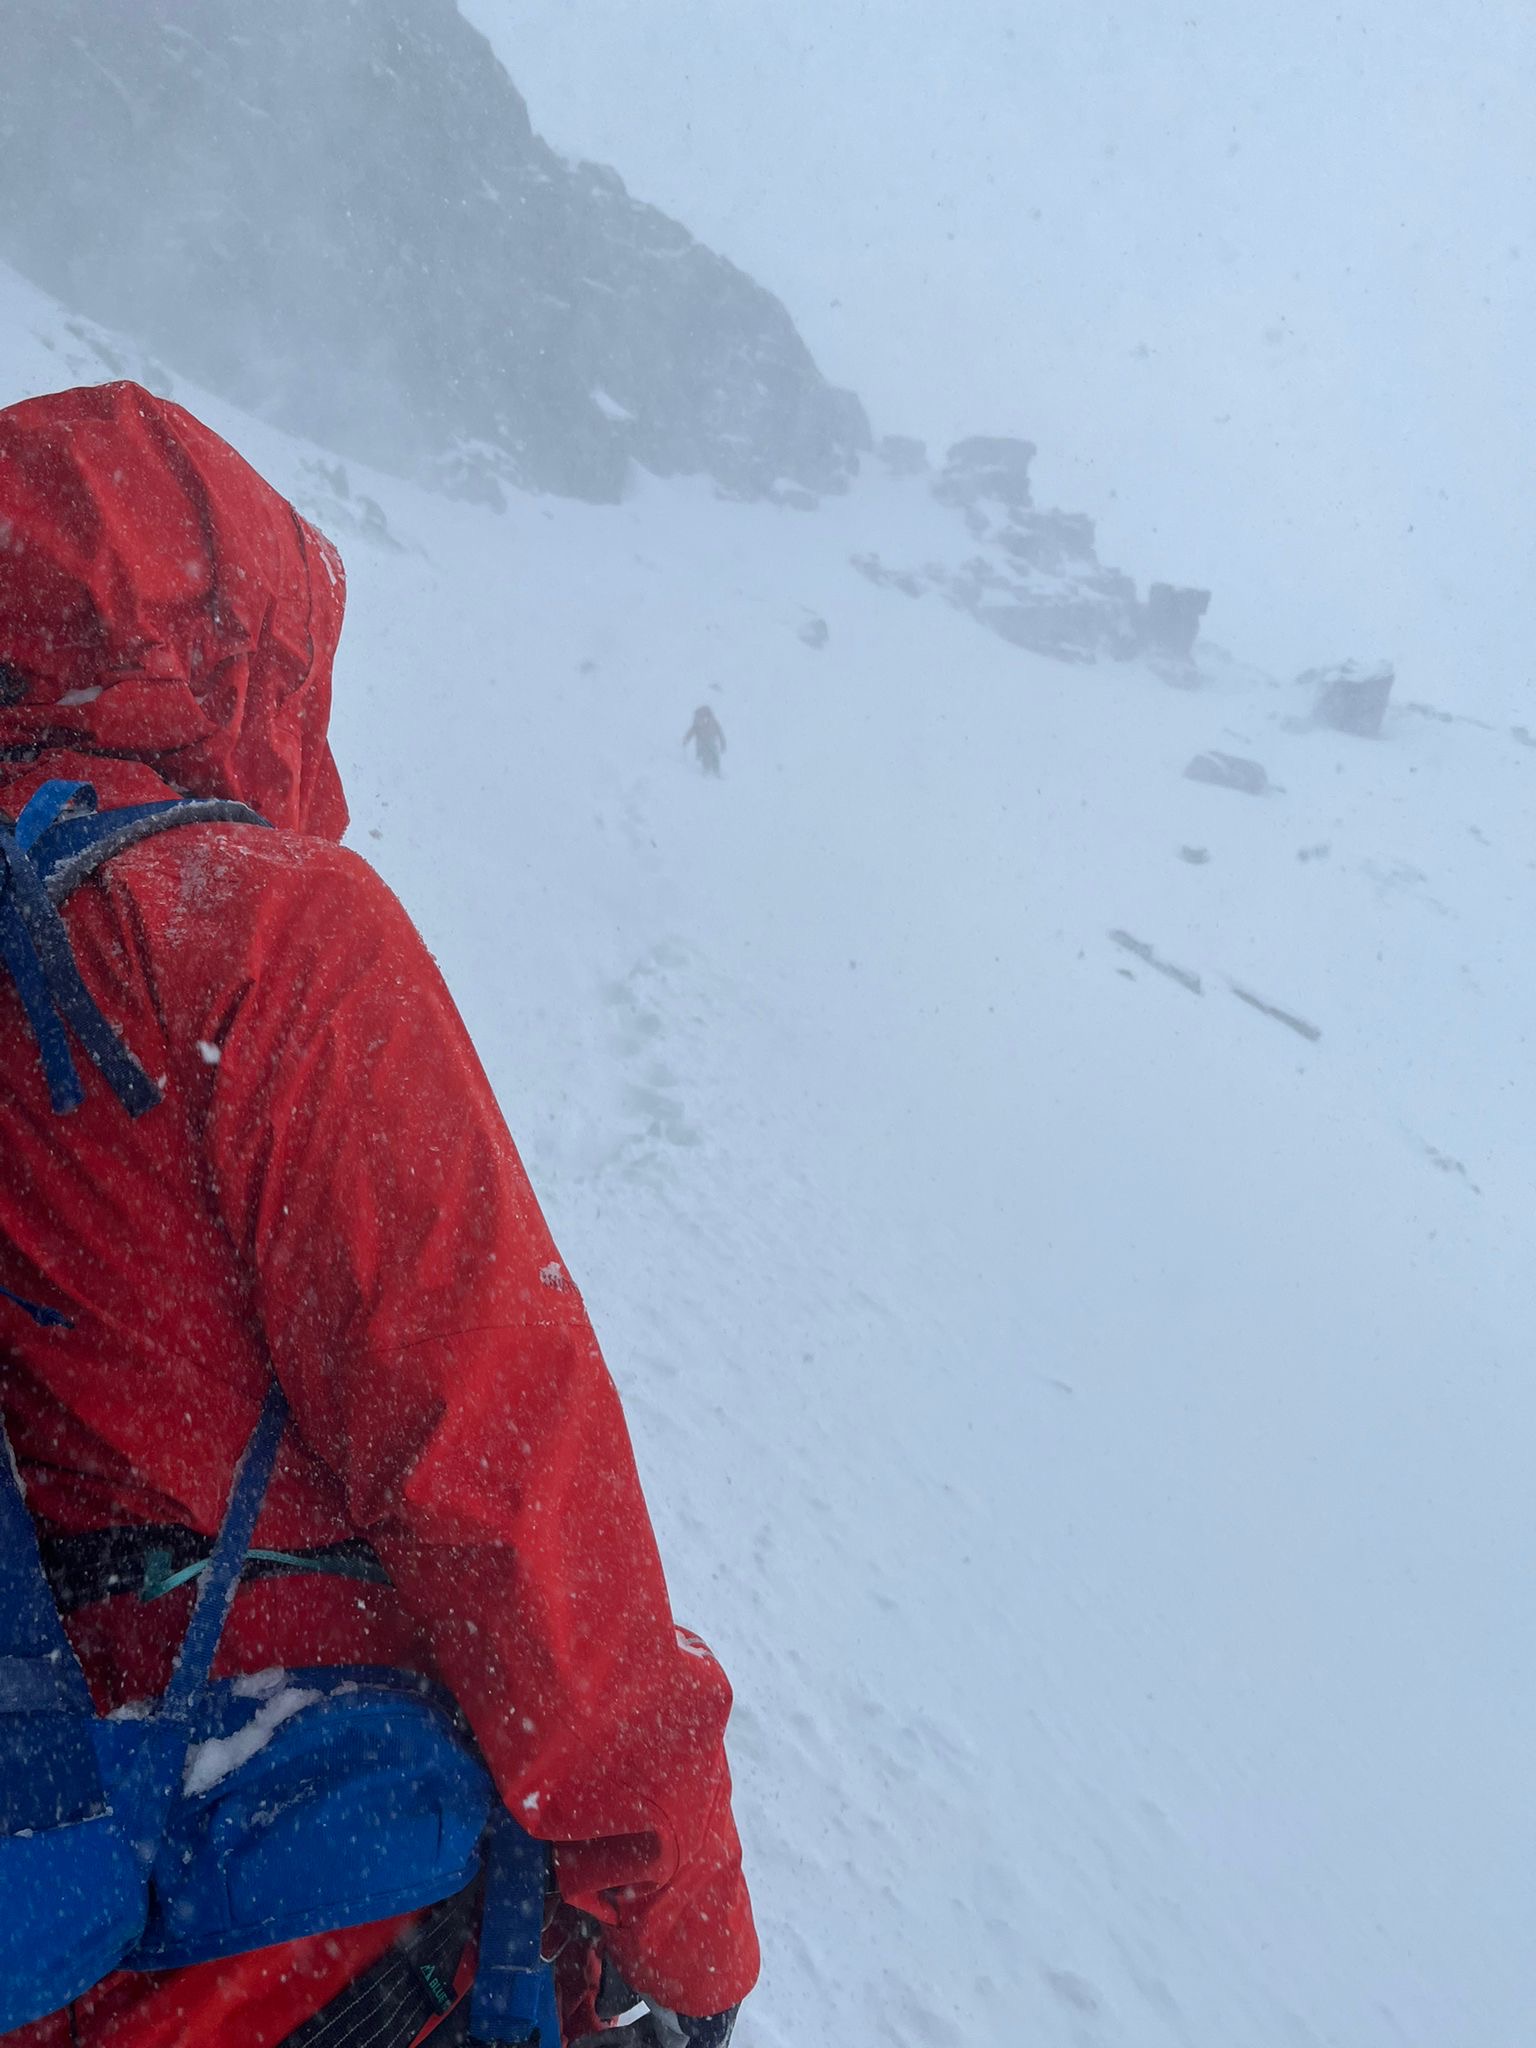
In a whiteout, your eyes stop giving you useful information. Up, down and sideways all look the same, and your sense of distance goes out the window. Experienced walkers get caught just as often as beginners. The difference is that the experienced ones have already planned how they'll handle it.
In winter, a map you can read is worth more than a screen you can't trust.
What You Actually Need in Your Pack
The minimum kit is simple. You need a map of the right area and a compass that actually works. Everything else is a bonus, and a useful one. I'd rather see someone carry a paper map and a basic compass than a shiny gadget and nothing else.
A compass that earns its place
Go for a baseplate compass with a base long enough to take proper measurements off the map. Some expedition-style models carry scales for 1:25k, 1:40k and 1:50k maps, which saves you doing awkward sums with a ruler at a windy junction. Check the scale matches the map you're carrying, and do that check at home, not on the hill.
Map scale matters more than you think
Most UK mountain maps come from Ordnance Survey or Harveys, and both publish several scales. A 1:25k map shows far more detail, so small features are easier to match to the ground. A 1:50k map covers a bigger area, which is handy for a long traverse but harder to read when the cloud is down. For tricky ground on Ben Nevis or the Isle of Skye, I'd lean towards 1:25k every time.
Pro tip: Fold your map so the section you need sits on top, and keep it in a clear map case. Fiddling with a soggy map in the wind is how people lose ten minutes they didn't have.
Altimeter and phone: helpers, not replacements
An altimeter is a brilliant way to confirm where you are on a slope with lots of contours. Phone mapping is cheap and fairly reliable these days, but cold drains batteries fast, and screens don't love gloves or fogged-up goggles. Use them as a bonus and keep the paper system working alongside them. If the phone dies, the paper doesn't.
Taking a Bearing and Sticking to It
A bearing is just an angle. You measure it on the map, transfer it to the compass, then follow it over the ground. It sounds fiddly in a warm kitchen. It feels like real work when you're cold, tired and can't see your own boots.
Setting a bearing, step by step
Lay the long edge of the baseplate across your position and your next target, with the direction-of-travel arrow pointing at the target. Turn the compass housing until its orienting lines line up with the grid lines on the map. Then hold the compass flat in front of you and turn your whole body until the magnetic needle sits inside the orienting arrow. The direction-of-travel arrow now points where you need to go.
Keep the compass away from metal, including your ice axe, carabiners and any metal zips on your pack. Metal can pull the needle off, and you won't notice until you're in the wrong gully.
Declination: the detail that catches people out
The gap between grid north and magnetic north is called declination. Your map's diagram shows the figure for that sheet. Ignore it and your line can drift off target, and the error gets bigger the farther you walk. Check the diagram before you set off, then make the adjustment on your compass or in your head.
Counting legs and timing them
When visibility is poor, your legs and your watch become the most reliable tools you've got. Before the trip, count your paces over a known distance on flat ground so you know roughly how many paces make a set distance on your own stride. On the hill, count and time each leg. For example, if a leg that should take 20 minutes has taken 40, something has gone wrong and you need to stop and check.
Comparing Paper, Compass and Phone
People ask me which tool to pick, and my answer is always the same. Pick one main system and one backup. For me, paper is the main system, and everything else is a bonus. Here's how the common options stack up in real winter conditions.
Approach | Where It Works Well | Where It Lets You Down |
|---|---|---|
Paper map and baseplate compass | No power needed, handles cold and wet, and shows the whole picture at once | Takes practice, can be awkward in high wind, and never gives your position automatically |
Phone mapping app | Shows your position on the map, cheap to use, and easy to read for beginners | Battery drains fast in the cold, touchscreens fail with gloves on, and signal can be patchy |
Handheld GPS unit | Gives position readings without mobile signal and works in poor visibility | Needs batteries and map data loaded before you go, and it's one more piece of kit that can fail |
Mixing approaches works best. Use the phone for a quick position check, then confirm it against the paper map and your last known point. Never let a screen make the decision on its own. Paper teaches you to think about the ground, while a screen can let you stop thinking, and that's exactly where people get into trouble.
Where Navigation Goes Wrong Under Pressure
Most navigation mistakes aren't about knowledge. People know what to do, then forget to do it when they're cold, stressed or running late. That's the bit that catches out even confident walkers.

A common mistake is to plan the whole day, switch off, and only look at the map again when something feels wrong. By then you're already off line, and every extra step makes the fix harder. The sensible habit is the boring one: keep checking.
Trusting the dot on the screen
A blue dot can feel reassuring, but it only shows where the phone thinks it is. If the reading is off, or the screen has frozen with wet fingers on it, you won't notice until you're somewhere you didn't plan to be. Treat the dot as a suggestion and check it against the ground in front of you.
Going too long without a check
Set checkpoints before you start. These can be a col, a fence corner, a change of slope or a stream junction. At each one, stop and answer one question: where am I on the map? If you can't answer it, don't keep walking. Stop, and rebuild your position before you take another step.
Pro tip: Ask yourself where you are at every change of slope or direction. If the honest answer is "no idea," stop walking and sort it out before you go on.
Planning, Turnaround Times and Telling Someone
Good navigation starts before you leave the car park. Planning at home means you already know your route, your handrails and your bail-out options. On the hill, you're just checking the plan against the ground. Honest planning is the difference between a tough day and a rescue.
Plan the route on paper at home
Mark your route on the map and work out your legs. Note your catching features, meaning big, obvious things like a river or a ridge that you'll hit if you miscalculate, so you know which way to turn. Mark escape routes and any stretch where the ground steepens. A plan you've drawn yourself sticks in your head far better than one you've glanced at on a phone.
Set a turnaround time and leave a plan
Pick your turnaround time before you start, not on the summit. Cloud has a funny habit of arriving just as you're feeling strong, so hard limits beat optimism. Then tell someone the route, the start time and when you expect to be back. A quick message costs nothing, and it's one of the most useful safety steps you can take.
Ben Nevis and Skye: Navigation in Practice
Scotland's big hills share the same basic rules, but each one has its own traps. Ben Nevis and the Isle of Skye are two places where that shows up clearly. Learn the ground in your head before you need it in a hurry, because you won't have time to work it out on the day.
Ben Nevis: big ground, few features
Ben Nevis is a serious mountain, and in winter its open snowfields can look almost identical in every direction. Cloud can move in quickly, and the features you're relying on can disappear under snow. Plan your bearings in advance, count your legs carefully, and don't assume a line that looks obvious on the slope is the one on your map.
Skye: rock, ridges and sudden drops
The Isle of Skye is a different challenge. The terrain is rocky and steep, with ridges, gullies and sudden drops that can make the ground look nothing like the map at first glance. In practice, that means matching contours and small features to what's in front of you, and checking each junction before you commit. Ask whether the ridge you're standing on is the one you planned to be on, because a wrong ridge can cost you a lot of time and energy.
A habit that works on both hills is to sketch the next two features in your head before you leave each one. If you can name what you should see next, you'll notice quickly when it's missing.
Training Your Navigation Before It Matters
Here's the honest truth. Navigation is a skill, not a piece of kit, and skills need practice in the conditions where you'll use them. The skills you build on a clear summer day tend to fall apart when the hill goes white. Training is where you find out what you can actually do.

Start on a short, familiar hill with decent visibility. Take a bearing, walk it, and check your position against the map at each point. Then do the same with the phone switched off. Once that feels comfortable, add a bit of cloud, some snow and some wind. Build the difficulty one variable at a time.
Practise in easy conditions first
Rehearsal is what turns a bearing from a theory into a habit. Set a bearing at the start of a short leg, walk it with your eyes on the compass and the ground, then check where you ended up. Do it a few times on the same hill and the process starts to feel automatic.
Pro tip: Take a bearing at the start of every leg, not just when you're lost. The habit is what saves you when visibility drops fast.
Where courses fit in
If you want a guided way in, our Winter Skills courses, Ben Nevis Winter Skills, Intro to Winter Climbing and Open Courses on the Isle of Skye all put you on real winter ground with an experienced guide. Navigation sits at the heart of winter skills, so it's worth raising it when you book, especially if you're planning to move from easy ground to bigger days.
Frequently Asked Questions
Do I really need a paper map if I already carry a phone?
Yes. Phones die in the cold, touchscreens fail with wet gloves on, and signal isn't guaranteed on the hill. A paper map and a working compass are the minimum kit, and the phone is a useful extra on top.
Which map scale is best for winter navigation in Scotland?
For detail on tricky ground, 1:25k is the one I'd pick. A 1:50k map is better for covering a big area on a long route, but it shows less detail when you're trying to match small features to what's under the snow.
How do I take a bearing in poor visibility?
Set the bearing on the map before you leave the last clear feature. Hold the compass flat, turn your body until the magnetic needle sits in the orienting arrow, and follow the direction-of-travel arrow. Count your paces and time each leg so you know roughly how far you've gone.
What should I do if I think I'm lost in a whiteout?
Stop. Don't keep walking and hoping for the best. Get your map and compass out, look for any linear feature or contour pattern you can match, and retrace your last known point if you can. If you still can't confirm your position and things start to get serious, call for help.
Can I learn winter navigation without a guide?
You can, especially on easy ground in good weather with a friend who knows the basics. But winter adds pressure that's hard to rehearse on your own. Structured training with an experienced guide shortens the learning curve, and it's far safer than working it out on a bad day.
How often should I practise navigation before a winter trip?
Practise regularly, not just once. Even a short session on a familiar hill before a big day keeps the skills sharp, and it shows you quickly which habits have slipped.
What's the closest you've come to losing the path in winter, and what did you change afterwards?

Comments