


Scottish Winter Grades: Grade I vs Grade IV Explained
Ever read a winter route description and felt like you'd been handed a bill in a foreign language? Grade III, Grade IV, Grade V, then a little number after it that nobody explains. Scottish winter grades look like a code, and honestly, they kind of are. Once you crack the logic, though, the whole thing clicks. Here's what separates Grade I from Grade IV terrain, what those numbers are really telling you, and why the grade on paper doesn't always match the day you're actually having on the hill.
Table of Contents
Quick Takeaways
Key Insight | Explanation |
|---|---|
Grade I is the gentle end of the scale | Snow gullies and easy ridges. You're walking and kicking steps more than swinging tools. |
Grade II is where ice tools come out | Steep snow, often needing two tools, with technical moves that are short but real. |
Grade IV is the big step up | Steep ice with short vertical steps, long pitches up to 70 degrees, or mixed routes needing advanced techniques. |
The Roman numeral covers the whole day | It includes technical difficulty, seriousness, and how sustained the climbing is. |
The Arabic number covers only the hardest moves | From Grade IV upward, the technical grade normally sits within two of the overall grade. |
Conditions can change the grade on the day | A thin season or heavy rime can make a route feel a full level harder than its number. |
Build your grades in order | Get comfortable on Grade I and II ground before chasing mixed routes or Grade IV ice. |
How Scottish Winter Grades Work
Let's start with the bit that trips everyone up. Since 1991, Scottish winter climbs have mostly used a two-tier system. Almost all new climbs reported now get two grades, and most climbers in Scotland have accepted it as the way things are done. The goal was simple: flag modern mixed routes for their serious technical difficulty, while still respecting that older-style ice routes can be every bit as serious.

Here's the catch. Nearly all grades up to and including IV kept their original overall grades. Climbs of Grade IV and above, plus a few of Grade III, now carry two numbers. So a Grade II route still looks like it always did, but a Grade IV route shows up with a Roman numeral and an Arabic one.
The Roman numeral: the whole day in one number
The Roman numeral is the overall grade. It takes in everything that makes a route hard to get up: technical difficulty, seriousness, and how sustained the climbing is. A Grade III route can be long and grinding without a single standout hard move. The overall number answers the question "how big a deal is this day?"
The Arabic number: just the hardest moves
The Arabic number is the technical grade. It describes the hardest section of climbing and says nothing about seriousness. People sometimes read it as a pitch-by-pitch guide, and it isn't one. It tells you how nasty the worst moves are, not how the whole route flows.
Pro tip: Read the two numbers as a pair. The Roman numeral tells you how committing the day is, and the Arabic number tells you whether the crux will feel like a short puzzle or a serious fight.
Grade I: Snow Gullies and Easy Ridges
Grade I is the gentle end of the scale. The description is snow gullies and easy ridges, which basically means ground you walk up with an axe in hand and a bit of confidence. It's where most people start, and it's where you learn to move on snow without overthinking every step.
Don't let "easy" fool you. Grade I ground can still be a full day in the Scottish hills, with weather that changes fast and snow that behaves differently from one slope to the next. The grade describes the climbing. It doesn't describe the conditions waiting when you get there.
What a Grade I day actually feels like
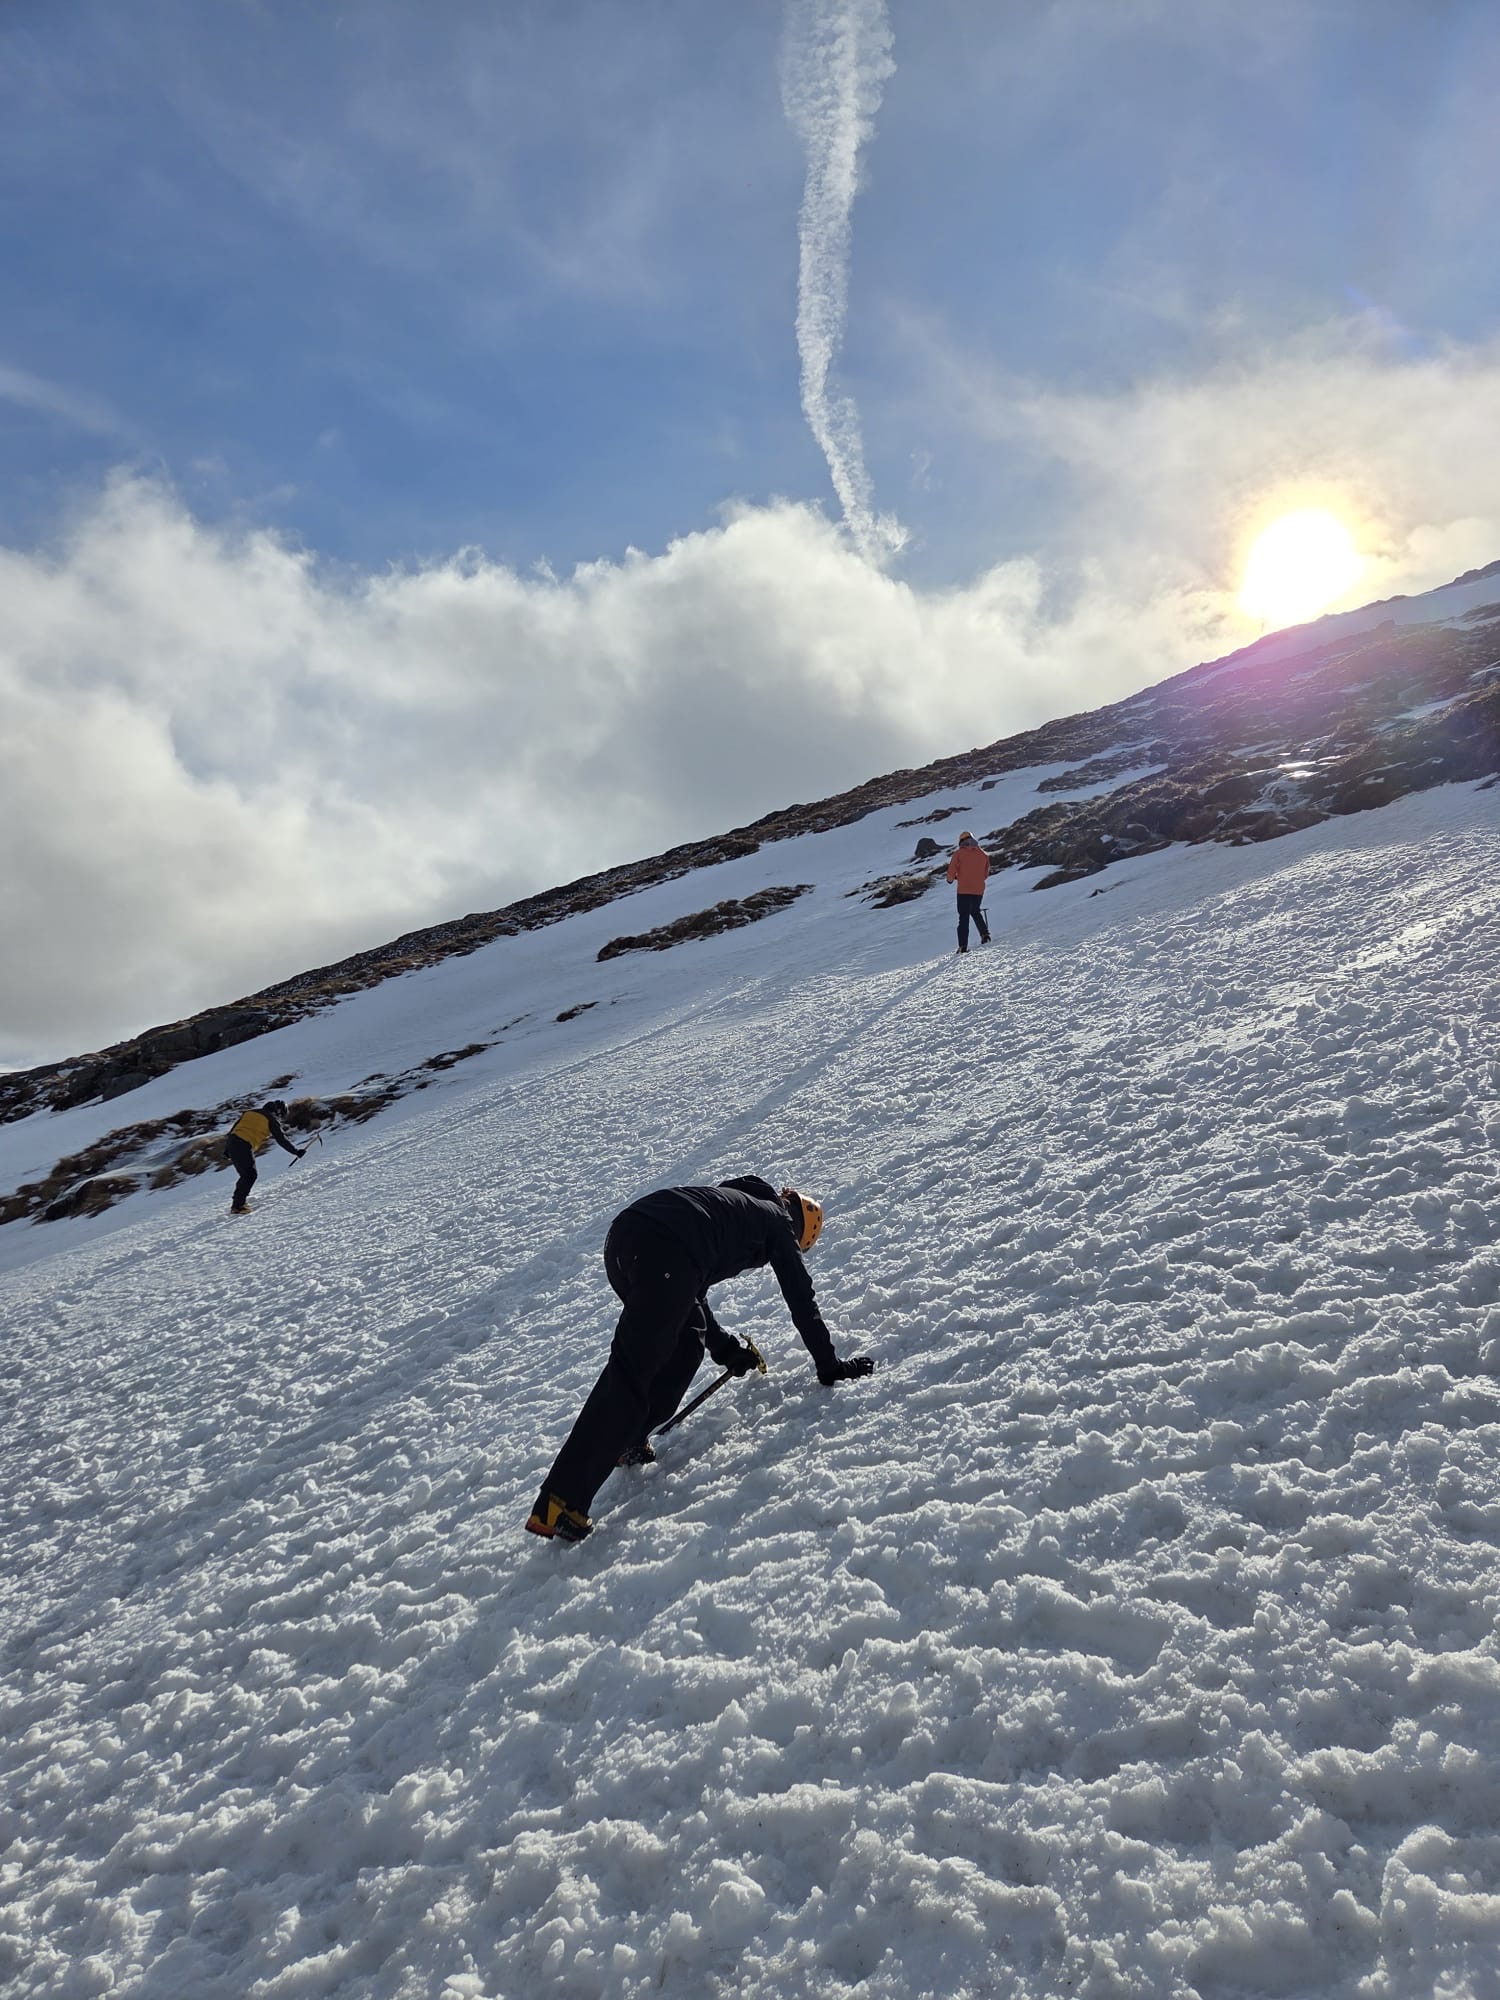
In practice, a Grade I day is mostly about movement. You're breaking trail, kicking steps where the snow is soft, and using your axe as a third leg on the steeper bits. You're rarely locked into the hard stuff, which gives you time to look around and learn how the snow reacts under your boots.
Where people go wrong on Grade I
The classic mistake is treating Grade I like a hill walk with a bit of snow on it. Folks skip the rope, skip the axe leash, or don't bother checking the forecast because "it's only Grade I." Look, the grade tells you about the climbing, not the weather or avalanche risk. Pack for the whole day, not just the bit you think is hard.
Grades II and III: Where Ice Tools Come Out
Grade II is where things start getting interesting. The description is steep snow where two ice tools may be required, with technical difficulties that stay short. The big thing to watch for is the cornice exit. That's the lip of snow hanging over the top of the route, and it can be the hardest bit of the whole day even when the climbing below is straightforward.
Grade III adds rock into the mix. You get mixed ascents of moderate rock, icy gullies, and sustained buttresses. Think of it as the point where your feet and hands start doing different jobs at the same time, and you're trusting your gear as much as your footwork.
Grade II: steep snow and two tools
Two tools means you're not just walking anymore. You'll plant an axe in each hand on steeper ground, place your feet carefully, and move more deliberately than you did on Grade I. The short technical sections are the sneaky part. They're only a few moves long, but if you're tired or cold, they feel like a lot more.
Pro tip: Practise your cornice exit on lower-angled ground before you need it. Getting your body over the lip with tools that want to skate is a skill, and it's far easier to learn when the stakes are low.
Grade III: when the rock joins the party
Grade III is where the mixed climbing shows up. You've got moderate rock with snow and ice plastered into the cracks, icy gullies that funnel everything toward you, and sustained buttresses that keep you working longer than you'd like. Your movement changes here. You'll be placing gear, finding small holds under snow, and making decisions about where to protect yourself.
A common mistake is assuming Grade III is just harder Grade II. It isn't. The jump is about variety and continuity. You can't switch off between moves, and that's what wears people down.
Grade IV: Where Winter Gets Serious
Grade IV is where a lot of people hit the wall. The description covers steep ice with short vertical steps, long pitches up to 70 degrees, or mixed routes that need advanced techniques. That's a huge range, and it's why two Grade IV routes can feel completely different on the day.
A grade tells you what the route asks of you. It doesn't tell you what the day will ask of you.
The other big shift at Grade IV is commitment. Once you're halfway up a long steep pitch, retreat isn't always simple, and the gap between "pumped" and "in trouble" comes down to how well you've drilled the basics. Plenty of climbers who feel confident on Grade III find Grade IV humbling for exactly this reason.

Steep ice and the 70 degree question
Steep ice with short vertical steps is a different animal from easy ice. Those steps demand real footwork and quick, committed swings. Long pitches up to 70 degrees are more about stamina. You're placing protection, sinking tools, and staying calm while your forearms file a complaint. The angle is only part of it, though. The quality of the ice matters just as much.
I'd rather take a sustained 70 degree pitch with good, solid ice than a short, bulletproof step on brittle stuff. Hollow or rotten ice changes the whole grade in your head, even when the guidebook still says the same thing.
Mixed climbing at Grade IV
Grade IV mixed routes need advanced techniques, and that usually means being solid on rock in boots and gloves. You'll be hooking, smearing, and trusting your feet more than your arms. A common mistake is relying on tool placements that look secure but are really just sitting on frozen moss. Test everything. Tug, then trust.
Reading the Two Numbers Side by Side
Once you've got the basics, the trick is reading the pair together. The overall grade sets the scene, and the technical grade points to the sharp end. The technical grade normally sits no more than two above or below the overall grade, so a V5 is roughly what you'd expect from an average old-style Grade V route.
This table is the one I come back to when I'm explaining it to students on a course.
Grade element | What it tells you | What it doesn't tell you |
|---|---|---|
Overall grade (Roman numeral) | How hard the whole day is, including seriousness and how sustained the climbing is | The hardest move on its own |
Technical grade (Arabic number) | How hard the toughest section is, with no reference to seriousness | Whether the route is safe, or how long it will take |
Summer equivalent (rough rule of thumb) | A loose guide to how winter grades tend to compare with summer rock grades | A fixed conversion, since every route and every season is different |
How to read a V5 without panicking
Say you see V5. Your first thought might be "that's a big one." Slow down. Read the overall grade as the commitment level and the technical 5 as the hardest move. If you're already comfortable on Grade IV mixed, that route might be within reach. If you've only ever done Grade II ground, treat it as a target for later, not a booking for next weekend.
Why the technical number isn't a pitch-by-pitch guide
This one catches people out. The technical grade flags the hardest section of climbing, so a route can have a tough pitch in the middle and a gentle finish, and the number won't tell you where that middle pitch sits. When the technical grade is higher than the overall, that signals more technical difficulty, usually with better protection. When it's lower, the route is more serious than the moves suggest.
Pro tip: When you open a route description, compare the technical grade to the overall grade before anything else. That gap tells you whether you're facing a technical puzzle or a serious, sustained day.
How Conditions Can Shift the Grade
Here's the bit the grade book can't capture. As with Alpine climbing, the conditions on any given day can change the grade of a route a lot. A season with less ice formed can turn a route that should be straightforward into something bony and tricky. Other days, the ice is there, but it's rimed over so badly that the features you'd normally use for protection disappear.
So a grade is a starting point. It's the number you plan around, but the day decides how it actually feels.
Thin ice and the seasons it doesn't form
Some winters, the ice just doesn't come in properly. Routes that rely on a good ice smear end up with scrappy turf, bare rock, and very little to hold onto. That can push a route that feels like Grade III toward Grade IV territory, even though the sheet says the same thing. When you hear the season has been thin, expect to work harder and rely more on your feet.
Rime, wind and the protection problem
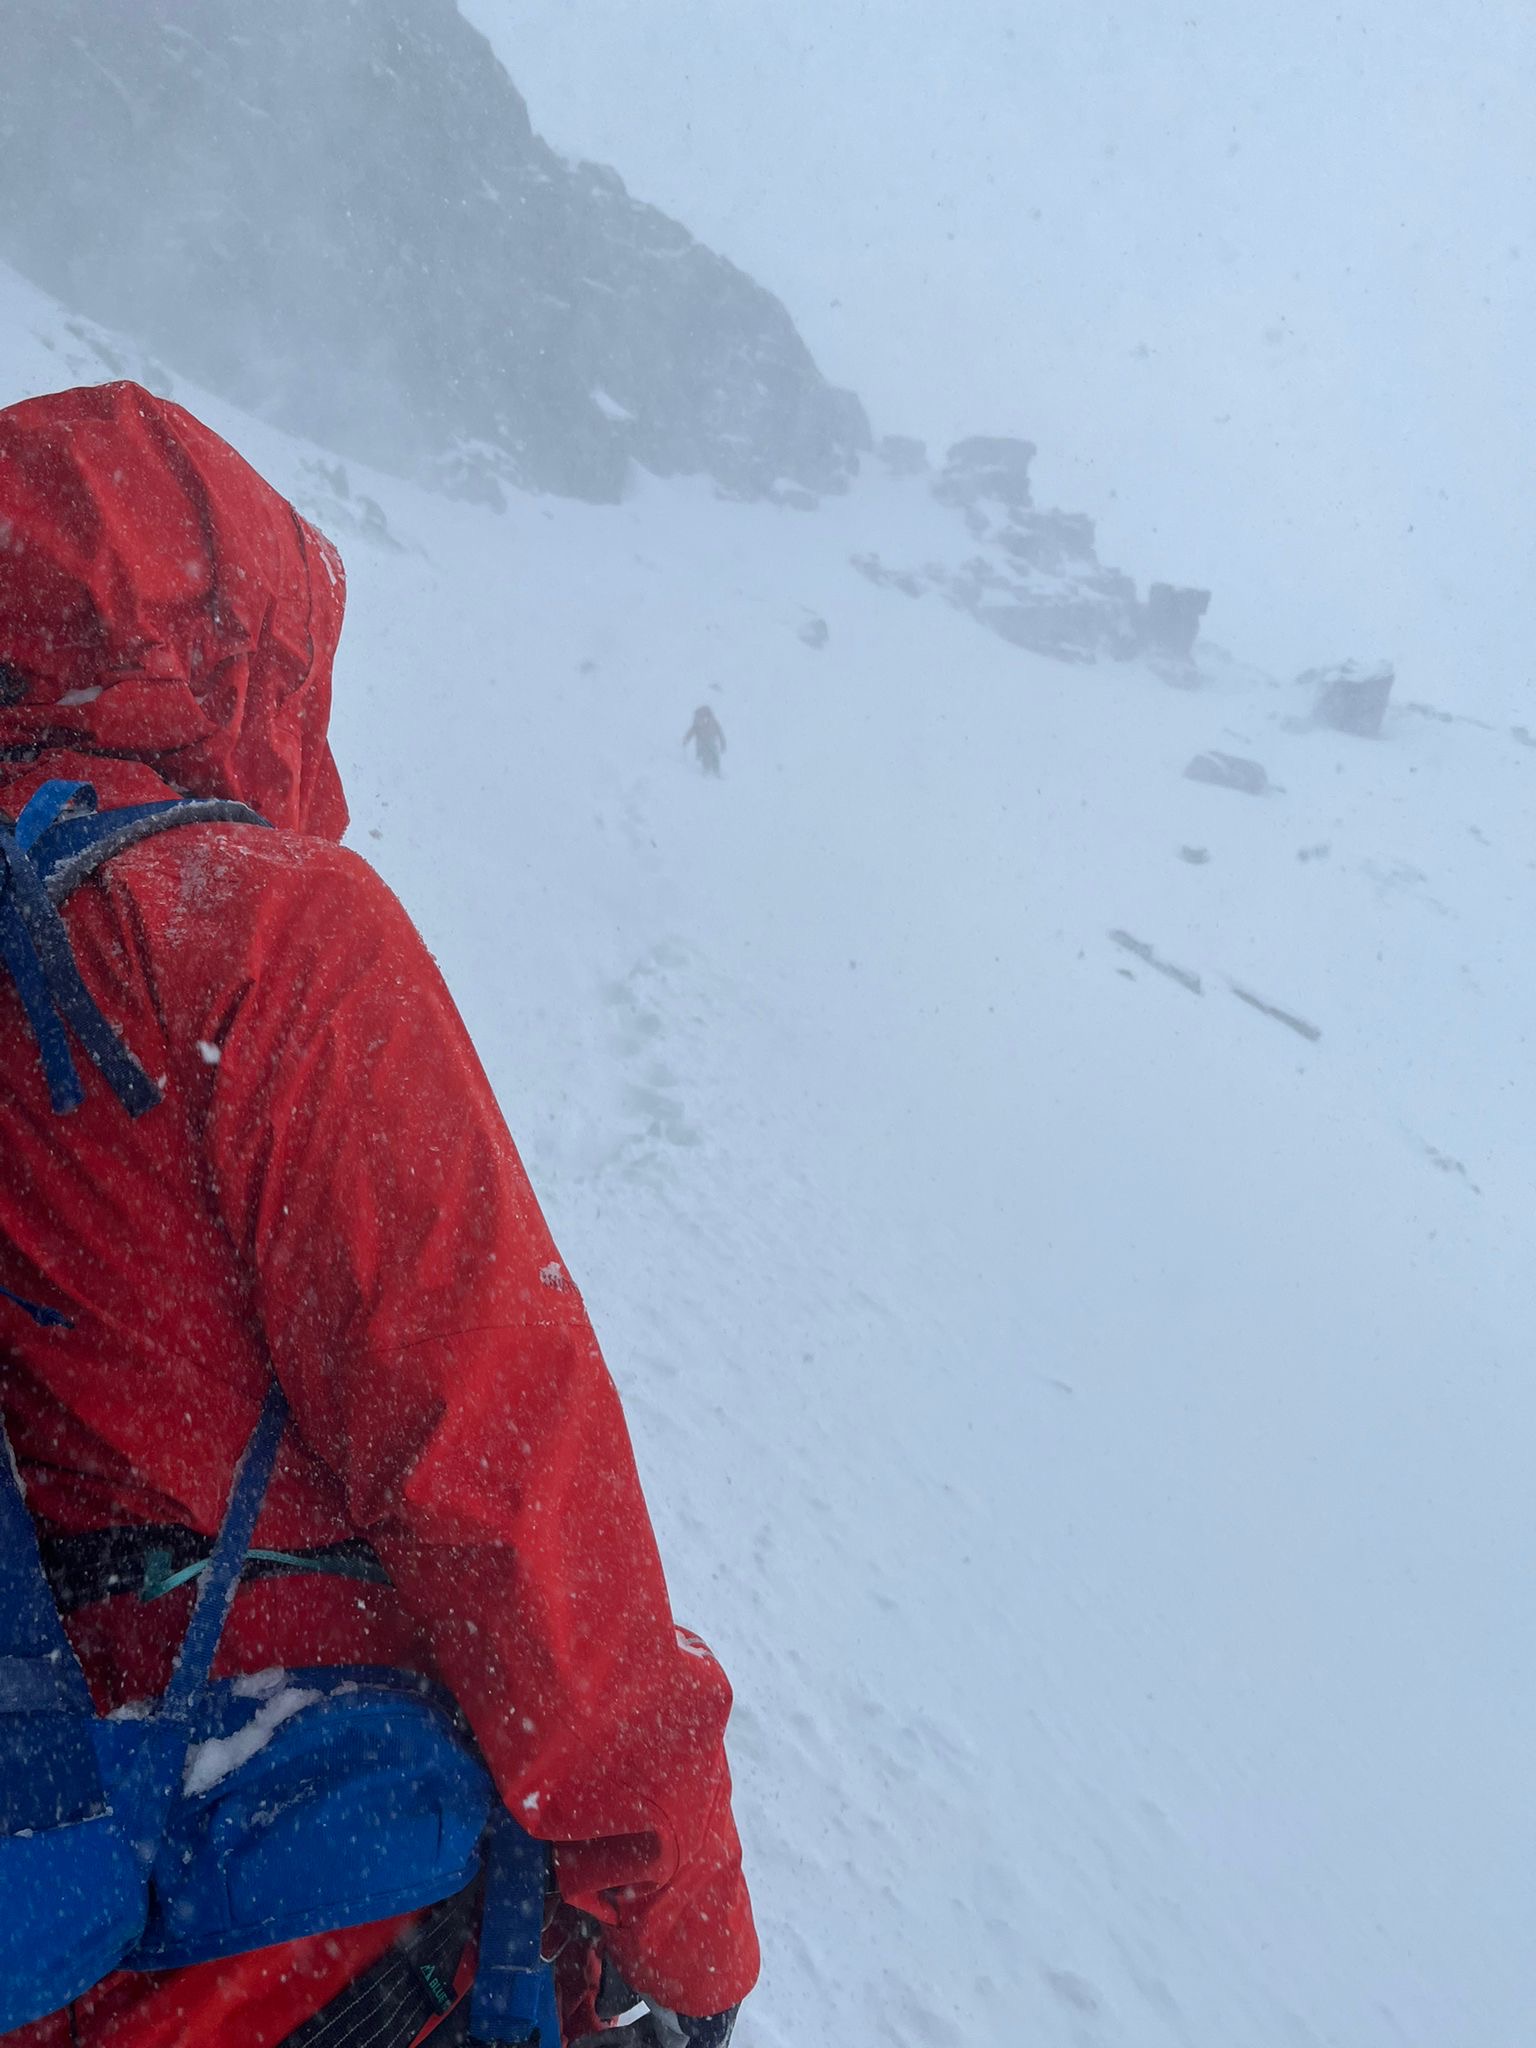
A rimed-up route is a different problem. Frost coats the ice and turf, so you lose the features you'd normally use for protection and tool placements. Wind-blown snow fills in the lines you were counting on. A common mistake is pushing on because the climbing looked fine from the valley. Check your protection before you commit, and be ready to turn around if you can't get a solid placement.
Learning to Winter Climb in Scotland
If you're reading all this and thinking "right, I want to get on that ground," good. Learning to winter climb in Scotland is much easier when you build up the grades in order. Nobody needs to be on Grade IV in their first winter. The best progress comes from stacking days on Grade I and II ground until moving on snow and ice feels natural.

That's where a structured course earns its keep. You get the basics of movement, tool use, and reading the snow without the pressure of a long route behind you. Intro to Winter Climbing and our winter skills courses are built to take you through that progression, and they're a solid first step whether you want to learn to ice climb or get into Scottish winter climbing for the first time.
Start on the ground that matches your grade
Book your first days on terrain that suits your current level, not the route you saw in a magazine. Ben Nevis offers a huge range of winter ground, and the Isle of Skye has plenty of its own. A guide will help you pick the right line for your experience, so you're not guessing from a grade alone.
What to ask before you book a winter course
Ask how the course uses the grading system, and how it moves you from Grade I ground toward mixed and Grade IV terrain. Ask what the guide does when conditions change, because they always do. And ask about group size. Smaller groups mean more time on the rope and more chances to fix your footwork before bad habits set in.
Pro tip: Keep a simple logbook of routes, grades, and what the conditions were really like. Over a season, you'll spot patterns in how the grade and the day line up for you, which is worth more than any guidebook number.
Frequently Asked Questions
What does a Grade IV winter route mean?
Grade IV covers steep ice with short vertical steps, long pitches up to 70 degrees, or mixed routes needing advanced techniques. It's a big step up from Grade III, and it asks for stronger footwork, better tool placements, and more comfort with commitment.
Is Grade I a good place to start?
Yes, for most people. Grade I covers snow gullies and easy ridges, so you can learn movement and axe use on lower-stakes ground. Just don't treat it as a casual day out, because the weather and snow can still catch you off guard.
What is the difference between the Roman and Arabic numbers?
The Roman numeral is the overall grade, covering the whole route including seriousness and sustained climbing. The Arabic number is the technical grade, which only describes the hardest section. From Grade IV upward, you'll normally see both.
Can a summer rock grade tell me the winter grade?
Only roughly. A common rule of thumb says a Severe in summer might land anywhere from III to VI in winter, but it depends on the route and how the ice forms. Treat it as a loose guide and check the route description for the actual grade.
Do I need to know the grades before booking a course?
No. A good course will teach you how the grades work as part of the day. Tell your guide honestly what you've done before, and they'll set the right starting point from there.
Tell us about a route where the grade on paper and the day on the hill didn't match, because those gaps are where the real learning happens.

Comments