


Ice Climbing Anchors in Scotland: How They Differ From Rock
Ice climbing anchors are where a lot of people get a bit too relaxed. You've got a screw in the ice, a sling around it, the rope clipped through, and it feels solid. Then the temperature climbs a few degrees, the sun hits the gully, and the ice you trusted turns to mush. If you're getting into ice climbing in Scotland, this is the thing to get right first. Here's how ice anchors differ from rock anchors, and why the habits that keep you safe on rock can get you into trouble on a frozen face.
Table of Contents
Quick Takeaways
Key Insight | Explanation |
|---|---|
Ice moves, rock mostly doesn't | Ice changes with temperature, sunshine and time. An anchor that felt solid an hour ago might not be solid now. |
Two screws beat one, every time | Use at least two placements so one bad screw doesn't take the whole anchor down with it. |
Test before you trust | Tap, look and feel each screw. A dull thud or hollow ring means move on and try somewhere else. |
Rock gear still counts on mixed ground | Cams and nuts in clean cracks are often the best call when the ice is thin, rotten or just not there. |
Strength ratings assume perfect ice | Manufacturer figures come from test conditions, not from a chunk of Scottish winter ice after a thaw. |
Learn the feel with someone beside you | Reading about a good screw won't teach you the sound of one. Get hands-on practice with a guide. |
Why Ice Anchors Aren't Rock Anchors
Rock anchors are pretty forgiving once you know the basics. A cam sits in a crack, the rock holds still, and it's a bit like a firm handshake: predictable and honest. Ice doesn't work like that. It's a material that changes with temperature, with sunshine and with how many times it's been hit.

Here's the thing that catches people out. A rock placement you checked this morning will usually still be there this afternoon. An ice screw you placed this morning may have softened, grown a layer of rot or pulled slightly loose by the time you come back to it.
Ice Changes While You're Still Climbing
On Scottish winter days the conditions can swing hard in a short time. A cold, dry start can turn into a grey, wet thaw by lunchtime, and a sheltered face that was perfect at dawn can feel completely different once the sun gets round. Your anchor is sitting in that changing material the whole time, so it's never really finished.
In practice, this means you re-check your anchor every time you rely on it. If you've been sitting on the same belay for a while, give the screws a little tap before you trust them again. It takes five seconds and it's the kind of habit that saves you a bad day.
You Can't See Inside the Ice
Rock has a structure you can read. You can see the crack, the flake, the way the stone sits. Ice, especially on a Scottish route, is full of layers, bubbles, air pockets and cracks, and most of them are hidden under a clean-looking surface. That's why two anchors that look identical can behave completely differently under load.
A common mistake is judging ice by how pretty it looks. Blue ice can be excellent, but grey, bubbly or stripy ice is often the one that lets go. You're not looking for good-looking ice. You're looking for dense ice that sounds and feels solid.
How Ice Screws Actually Hold
An ice screw is a hollow tube with a thread that bites into the ice as you turn it. It holds because the ice grips the thread, and the more solid the ice around it, the better that grip. Simple enough on paper. The problem is that the grip depends entirely on what you're screwing into.
Think of the screw as a bolt that needs something solid to bite into. If the ice around the thread is dense, the screw locks in. If the ice is honeycombed or softened, the thread just spins through it and gives you nothing to hold.
Placing a Screw in Good Ice
Good ice feels dense when you hit it, and the screw should go in with steady, even turns that get harder as the thread bites. Clear the ice core out of the tube as you go, so the screw seats properly and you can see what you're doing. Make sure the thread is fully buried, because a screw that sticks out a few millimetres is a screw that can be levered out.
Before you weight it, think about the direction the rope is going to pull. You want the load pulling the screw into the ice, not sliding it out. Ask your partner or guide to check the angle before you commit, especially on steep ground where it's easy to get it wrong.
Pro tip: Carry more screws than you think you'll need. A screw that goes in badly is worth ditching, and you'll always want a spare placement when the first one feels wrong.
Why Strength Ratings Can Mislead
You'll see strength figures for ice screws, and they're useful as a rough guide. Treat them as a best-case number from testing, though, not a promise for the ice in front of you. Scottish ice is often thinner or more broken than people expect, and a screw that holds fine in one spot can pull out a short distance to the side.
The safest way to think about it is that a rating only tells you what the screw can do in good ice. Your job is to find out whether you're actually standing on good ice. That's a judgement call, not a number on a box.
Reading the Ice Before You Trust It
Before a screw goes in, you're already judging the ice. Look at it, hit it and listen to it. Most of the dodgy anchors I've seen started with someone who didn't bother with those three things.
Ice doesn't hold you because it's ice. It holds you because you've checked that it's good ice.
The Sound Test
Give the ice a few firm taps with the pick of your axe. Solid ice gives a clear, sharp sound. A dull thud or a hollow ring means there's air or rot behind the surface, and that's a no.
Then watch what comes off. Good ice breaks into clean chips. Rotten ice crumbles, turns to slush or comes away like wet sugar. Both the sound and the chips tell you a lot, and you need both before you trust a placement.
Spotting Thin and Rotten Ice
Thin ice on a rock band, ice that looks grey and porous, or ice with lots of stripes and bubbles are all warning signs. The sunny side of a gully often softens first, so be extra cautious where the sun has been working on it. Ice that's been sitting in shade may be harder, but it can still have hidden hollows.
If you're in doubt, move. Find another placement, or switch to rock gear if the terrain allows it. Nobody ever got a medal for hanging off a dodgy screw, and plenty of people have learned that the hard way.
Building a Two-Screw Anchor That Works
This is the classic setup on most Scottish ice routes. Two screws, placed a sensible distance apart in good ice and joined so the load is shared between them. It isn't fancy, but it's the one we'd rather you master before anything else.

Why two? One screw is one point of failure. If it's soft or it pulls, the whole anchor goes with it. Two gives you a backup, so one bad placement doesn't leave you hanging with nothing.
Equalising Without Overthinking
Equalising means the load gets split between the screws rather than sitting on just one of them. Keep the sling short enough that the screws aren't working against each other, and make sure both are taking their share when you're weighted. In practice, a tidy, simple connection beats a clever one you can't check quickly.
A common mistake is linking the screws so tightly that one takes most of the load. Sit back, weight the anchor gently and watch how it settles. If one screw looks like it's doing all the work, rebuild it before you carry on.
Where the Rope Runs and the Screw Pulls
The rope can change everything. If it runs over a sharp edge or across the screw at an awkward angle, it can loosen the placement or wear through the sling. Think about the line of pull before you build, not after you've got the rope through the belay device.
Keep your anchor tidy and easy to inspect. If you can't see how the screws are sitting, you can't check them properly, and checking is the whole point.
Mixed Ground, Turf and Rock Anchors
Scotland loves a mixed route. You're on turf, then ice, then a rock band with a sprinkling of verglas, all on one pitch. Your anchor has to match what's actually in front of you, not what you'd like to be there.
Rock Gear Is Often the Better Call
When the rock is solid and the cracks are clear, cams and nuts give you a placement that doesn't melt or soften. Clean the crack out first, because turf, ice and grit can hide a poor placement. A good rock placement is also easier to read than a good ice screw, and that's a real advantage on a cold day.
Don't let ice-climbing habit push you away from rock gear. If the cracks are good and the ice is rubbish, the rock is your friend.
Snow Stakes and Turf Anchors
Turf and snow anchors are a different beast again. A well-placed turf anchor can be very reliable, and snow stakes can work in firm snow. Soft, powdery or wind-blown snow is where people go wrong, so dig down and test the snow before you put any load on it.
Rule of thumb: if the snow feels like it could shift under your boot, it's not going to hold a belay. Build somewhere better or add a second point.
Common Mistakes That Catch People Out
Most ice anchor problems aren't dramatic. They're small habits that add up until one day they really matter. Here are the ones we see most when people come to us from rock climbing.
Trusting a Screw Because It Went In Easy
A screw that spins in with almost no resistance is often sitting in soft or hollow ice. It feels like a win, but it's usually a warning. Good placements take effort, and a screw that goes in too easily should make you suspicious.
Pro tip: If a screw feels too easy, don't argue with the feeling. Move it, or add a second placement beside it before you weight anything.
Forgetting the Weather Changed
You built the anchor at the bottom of the pitch when it was cold and dry. Now the sun's out, the wind has shifted and the thaw has started. That anchor is not the same anchor anymore. Re-check it whenever conditions change, even if you think nothing has moved.
Another trap is rushing. Winter days in Scotland can be short, and it's tempting to skip the checks when you're cold and keen to get going. Those minutes matter more than you think.
Ice vs Rock: Comparing Your Anchor Options
Here's the quick way to think about it. Pick your anchor based on the ice and rock in front of you, not on habit or what worked last weekend.

The table below compares the three setups we use most often on winter days. Each one has its place, and each one fails in its own particular way.
Anchor Approach | Where It Works Best | Where It Lets You Down |
|---|---|---|
Two ice screws, equalised | Dense, solid water ice on steep ground where you can place both screws well | Soft, sun-warmed or honeycombed ice where the threads spin or pull out |
Ice bollard or V-thread | Thick, sound ice where you can carve a clean, strong bollard | Thin ice, shattered ice or ice that cracks when you cut into it |
Rock gear (cams and nuts) in cracks | Mixed routes with solid rock and clean cracks that aren't full of ice | Cracks packed with ice, wet or loose rock, or shallow placements that won't hold |
Notice that none of these is always the right choice. The skill is in reading which one fits the ground you're standing on, and that comes with time and a few honest conversations with someone more experienced.
Learning Anchors With a Guide Beside You
You can read about all of this and still get it wrong on the day. Anchor building is a hands-on skill. The feel of a good screw, the sound of a bad one and the way a sling sits under load all come from doing it with someone watching and correcting you.
What to Expect on an Ice Course
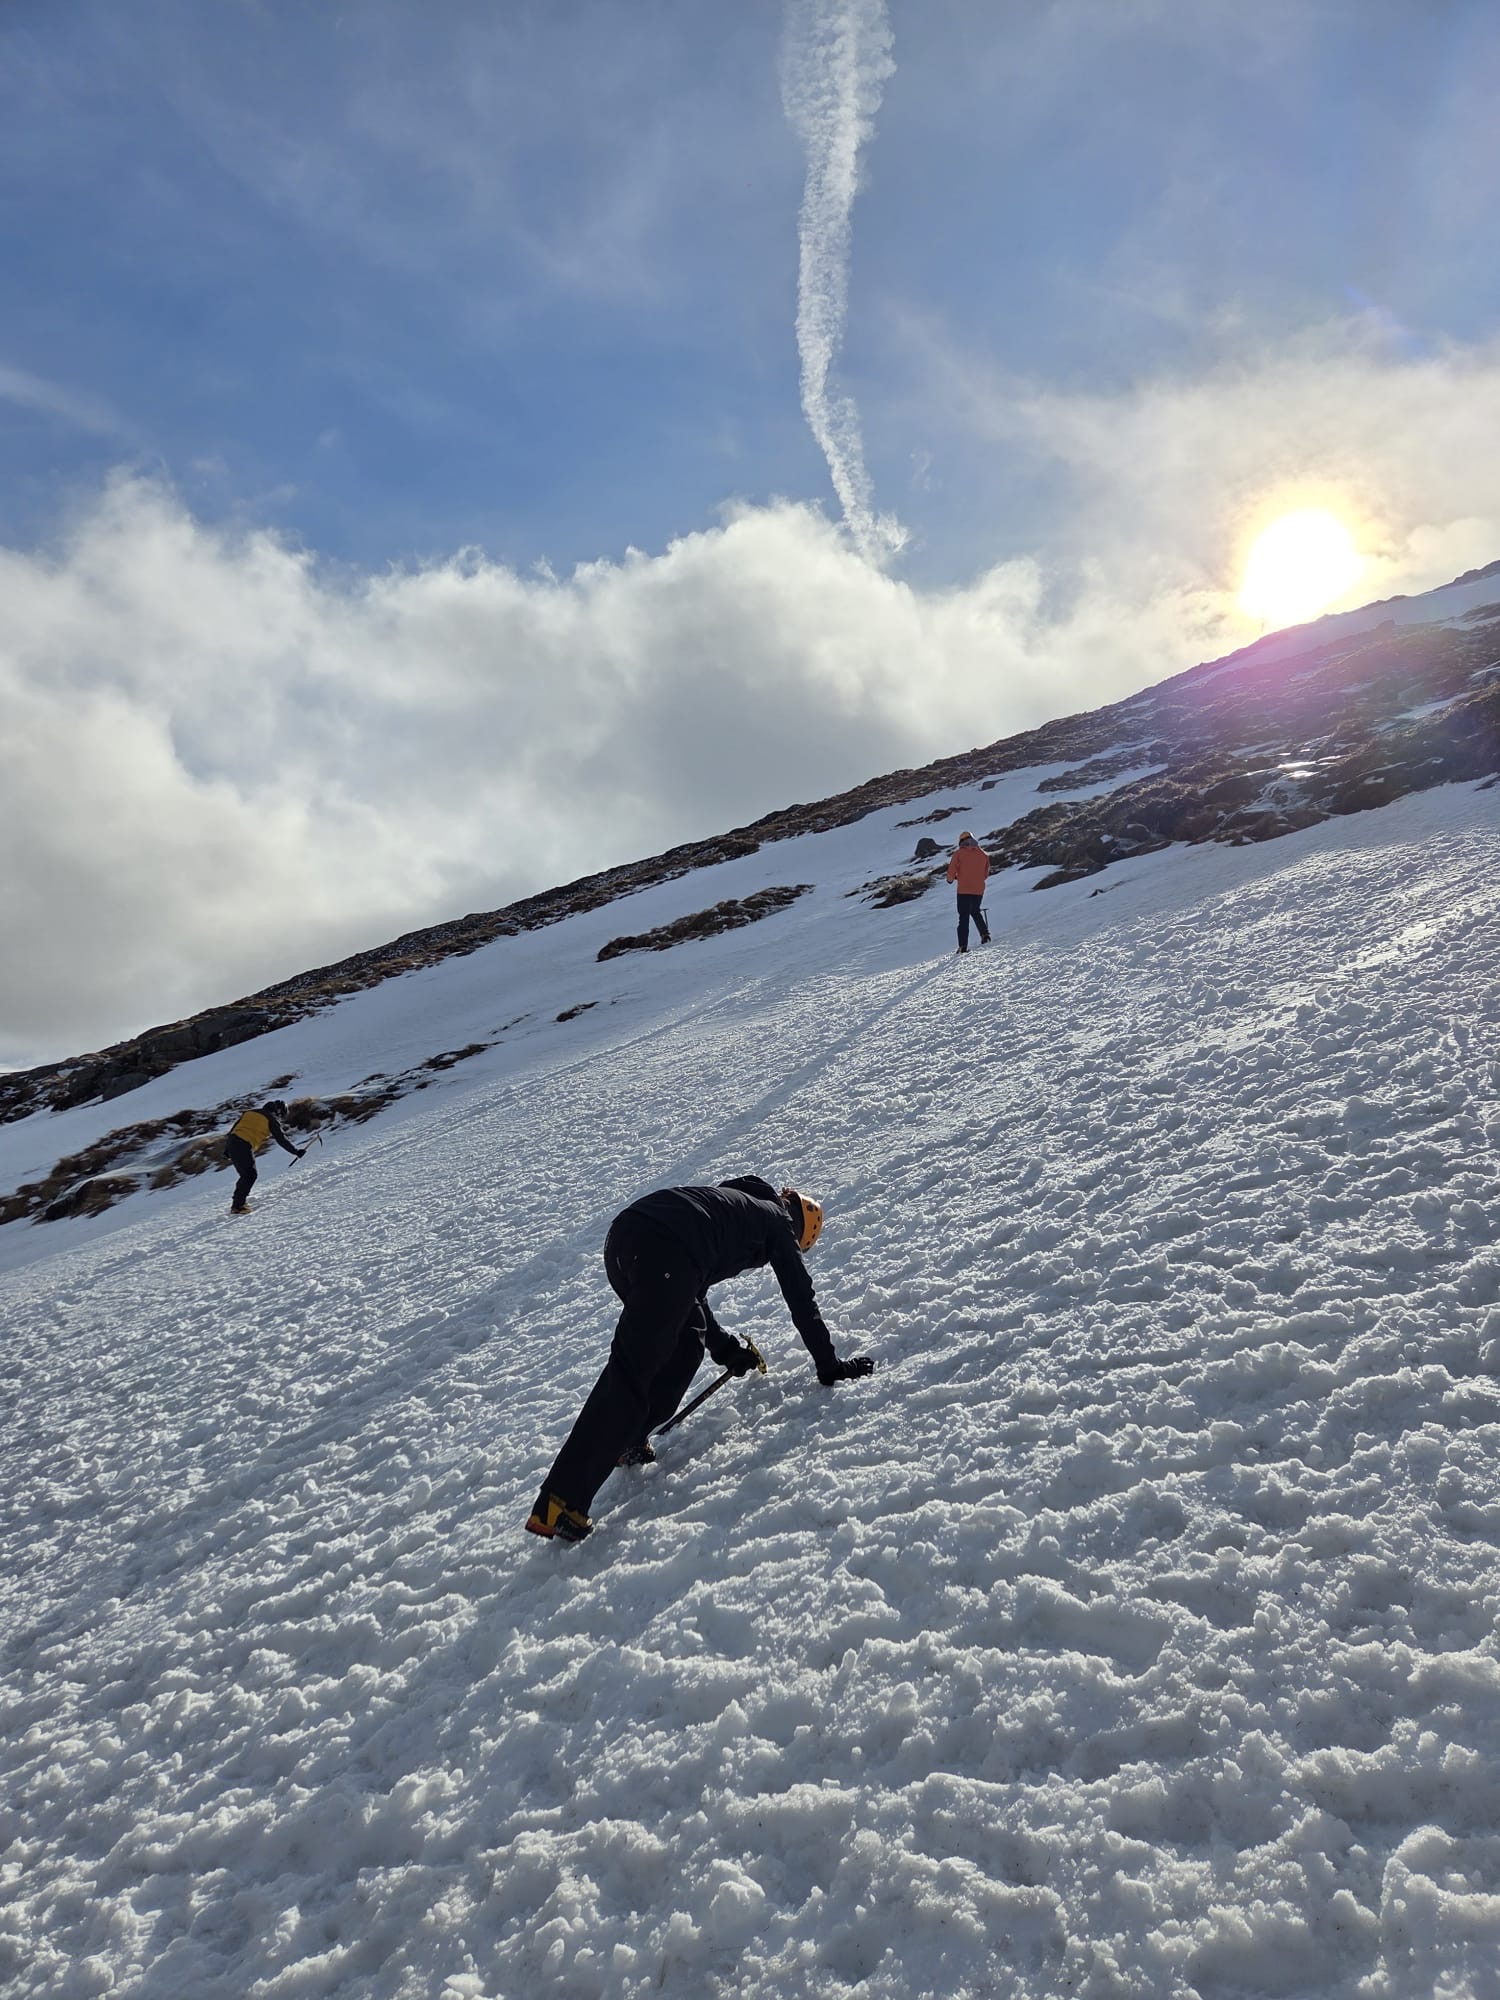
Good courses start on easier ground with safe, controlled practice. You'll place screws, test them, build simple two-screw anchors and then check each other's work. Only once the basics feel natural does it make sense to move onto steeper, more demanding ice.
Ask questions, even the daft ones. The people who learn fastest are the ones who say "why did that one feel wrong?" out loud, because that's exactly the conversation that builds judgement.
Where to Start in Scotland
If you're new, our Intro to Winter Climbing and learn to ice climb options are a sensible place to begin. From there, Ben Nevis winter skills training and open courses on the Isle of Skye let you build on the basics in very different conditions. Fort William is our base, so the Ben Nevis side of things is always close at hand.
Whatever you choose, aim for steady progress rather than rushing up the grades. A solid anchor built slowly will serve you far better than an impressive one you can't trust.
Frequently Asked Questions
Can I use rock gear on an ice route?
Yes, and on mixed Scottish routes it's often the smartest choice. If the cracks are clean and the rock is solid, cams and nuts can give you a placement that won't soften in a thaw. Just make sure the crack is clear of ice and grit before you trust it.
How do I know if an ice screw is good enough?
Look at the ice, hit it, and listen to the sound it makes. A good screw goes in with steady resistance, the chips come away clean, and the ice around the thread feels dense. If anything feels off, move the placement rather than hoping for the best.
Why not just use two screws for every anchor?
Two screws is a great default, but it only works if both are in decent ice. Sometimes the best answer is a rock placement, a turf anchor or a different spot altogether. The goal is a sound anchor, not a fixed formula.
How long does it take to learn to build ice anchors?
The basics can be picked up over a few supervised days, but judgement takes longer and keeps growing. Expect to spend a season or more building experience before you feel relaxed about reading difficult ice. A guide can speed that up a lot.
Do I need training before I try building ice anchors myself?
Yes. Reading an article like this helps you understand the ideas, but it can't teach you the feel of good ice or the sound of a bad screw. Get hands-on training with a qualified guide before you build anchors on your own, especially on Scottish winter routes where conditions change fast.
We'd love to hear about the trickiest ice anchor you've ever built on Scottish ice, and what you'd change about it now.

Comments