


5 Scottish Winter Climbing Routes for Intermediate Climbers
Okay, so you've got the basics. Your crampons fit, you can swing an axe without looking like a windmill, and you've survived a weekend on snow that didn't feel like a bad dream. Now what? Scottish winter climbing routes intermediate climbers can actually enjoy sit in a sweet spot. They're steep enough to make you think, but not so hard that every move feels like a coin toss. Here are five lines we send people on once the basics are sorted, plus what each one really asks of you. Stick around, there's a lot of practical stuff coming.
Table of Contents
Quick Takeaways
Key Insight | Explanation |
|---|---|
Most of these live in the grade II and III band | That's a real step up from beginner gullies, but it's still a sensible place to build experience. Don't jump straight to the hard stuff. |
Snow beats the guidebook photo | A route in good nick beats a harder line that's been stripped to ice. Check recent conditions the day before you go. |
Gullies teach moves, ridges teach judgement | Gullies build your axe and crampon skills. Ridges make you read terrain, pick lines and navigate when cloud drops in. |
Carry proper kit, even on a short route | Helmet, ice axe, crampons that fit your boots, a head torch, map and compass. Short doesn't mean safe in winter. |
Set a turn-around time before you start | Most bad days come from pushing on when the weather turns. Agree the time with your partner and stick to it. |
Warm spells change everything | A thaw can turn firm snow into slush and load the slopes. If the forecast warms up, pick a more conservative line. |
Learn the first one with someone who knows the hill | A local guide will show you the hazards you'd miss and save you a season of guesswork. |
What Makes a Winter Route Intermediate?
Here's the thing about intermediate routes. Nobody hands you a sign that says "intermediate." You're looking at grades, sure, but the grade only tells part of the story. Two routes at the same grade can feel completely different depending on snow, ice and how exposed the line is.

In practice, an intermediate route is one where the moves are mostly within your ability but the consequences are higher. You're managing rope lengths, placing gear and moving together with a partner. If you're still fumbling with your crampon straps at the bottom of the route, it's not time yet.
Grade is a starting point, not the answer
Scottish winter grades run on a scale that goes well past anything you'll touch as an intermediate. The II and III band is where most people spend their first proper seasons. A grade II line might be a gully with a few steep steps, while a grade III can have a section that makes you slow right down. Don't assume a route is easy because the grade looks low, because snow cover changes everything.
Reading the snow before you commit
A common mistake is picking a line off a photo taken in summer or in a perfect season. Check recent conditions, look at what the snow's doing, and ask someone who's been up there this week. If the gully looks scoured down to ice, a grade III suddenly becomes a different animal.
Most winter accidents on intermediate ground don't start with a bad move. They start with a late decision.
Pro tip: Write down two backup routes before you leave the car park. If your first choice is loaded with ice or the wind is up, you'll want an easier line ready to go instead of making it up on the spot.
Number Four Gully: Where Most of Us Start
Number Four Gully is the one I send most people to first. It's a gully many climbers use as their first proper winter route, and for good reason. The line is clear, the terrain is steady, and it gives you room to practise the things that matter without feeling like you're hanging off the edge of the world.
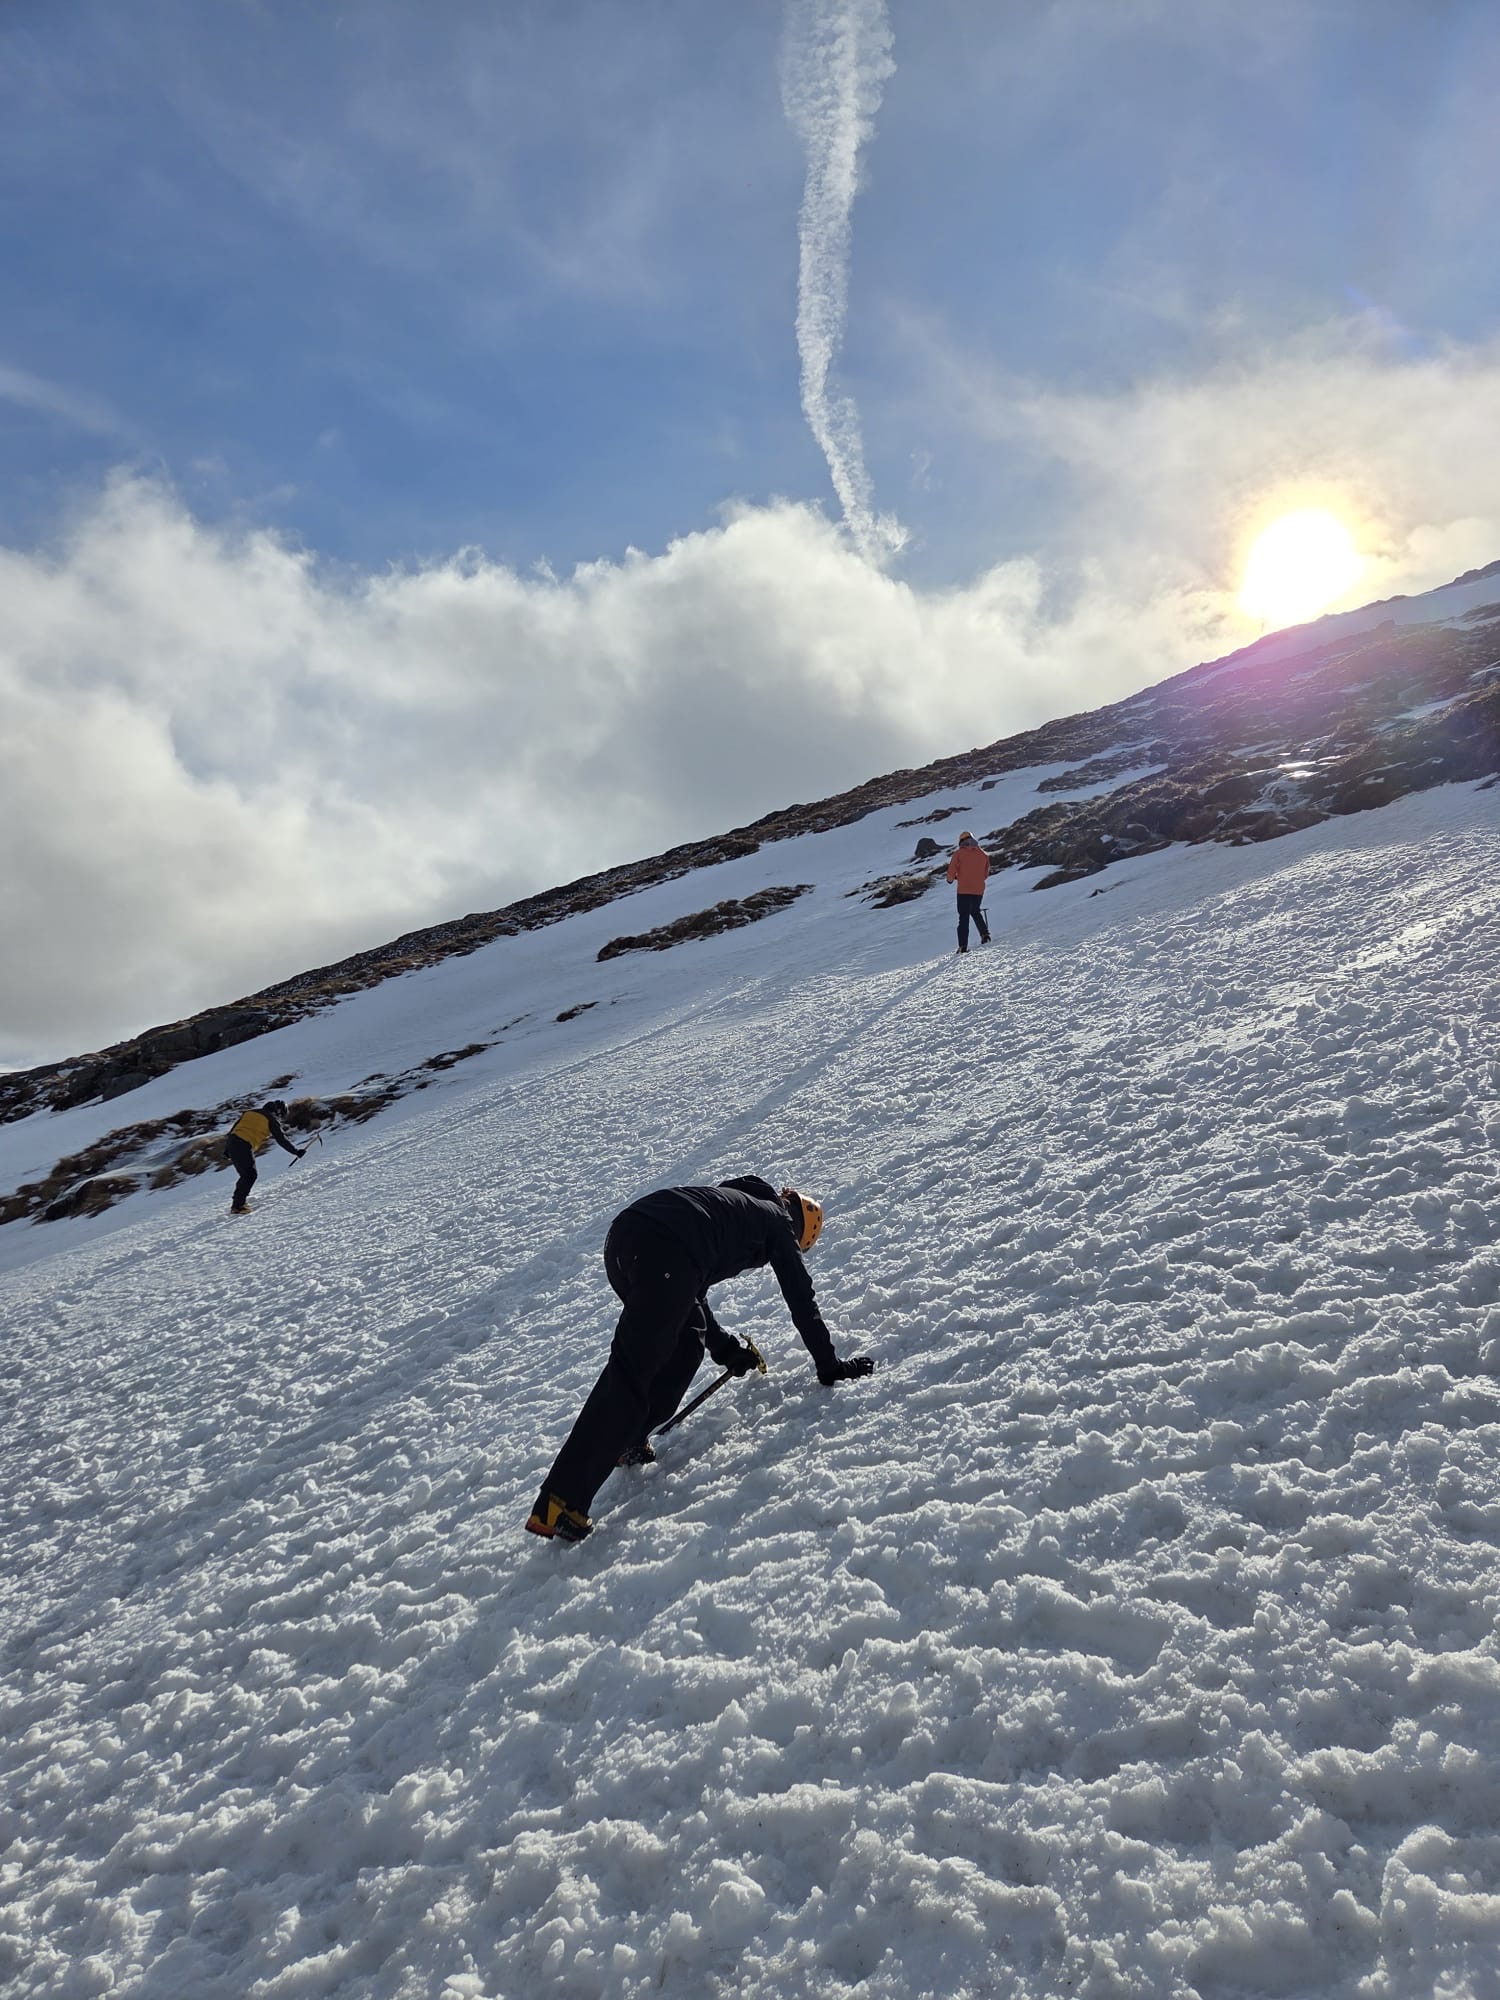
What you're learning here is the basics, done properly. Tool placements, front pointing, moving together on a rope, and keeping calm when the snow isn't quite what you hoped. It's a route that rewards patience more than speed.
What the gully teaches you
Gullies have a rhythm. You're usually climbing with walls on either side, so you're working with the snow and ice in front of you rather than balancing on a crest. This is where people start to trust their axes. Keep your hips close to the slope and your weight over your feet, not your arms.
Where people go wrong
The usual trap is rushing the top. You've been focused on the climbing all the way up, then you hit the exit cold, tired and sloppy with your footwork. Build in a moment to reset, eat something and check your kit before you go over the top.
Pro tip: Practise stopping yourself with your axe on a gentle snow slope before you go anywhere near a gully. If you can't stop quickly on easy ground, a steeper line will show you the gap in a hurry.
Raeburn's Gully: Your First Real Test
Raeburn's Gully sits on the same grade II and III list that gets mentioned in most serious Scottish winter discussions, and it's a clear step up from the simpler lines. You'll feel the difference within the first hour. The snow is often more committed, and the moves ask a bit more of your feet and your nerve.
This is where intermediate climbers start to feel like they belong. You're not just following a rope anymore. You're reading the gully, picking your lines and deciding when to power through a steep section and when to take a breather.
Protection and rope work
Expect to place some protection along the way, and practise that before you're on the route. Ice screws look easy in a shop, but placing one well in hard, wind-blasted ice is a different skill. Make sure your partner knows how you're handling the belay, especially if you're swapping leads.
Choosing the right day
Good weather and good snow aren't the same thing. A cold, calm day with firm snow is the dream. A warm spell can turn the gully into a slushy mess that's loaded with debris, so if you're unsure, ask whoever's been on the hill recently or pick your backup.
Pro tip: Pack a spare pair of gloves and a warm hat in your sack. Wet gloves on a long, cold route turn a manageable day into a miserable one fast.
Lady's Gully: Steady Climbing With Good Exit Options
Lady's Gully belongs on that same list of grade II and III classics, and it's one I like for building confidence. The climbing is sustained without being relentless, and there's a sense of commitment that helps you get properly into the zone.
Here's my honest take. Lady's Gully teaches you to keep moving when your forearms are screaming. You learn to find rests, shake out and keep your rhythm. Those habits matter more than any single move you'll make on the day.

Pacing a long winter day
Scottish winter days are long, and the approach is often more tiring than people expect. Start steady, don't burn yourself out on the first steep bit, and eat little and often. The gully will still be there when you're warmed up.
Knowing when to bail
Bailing isn't failure. If the snow feels unstable, the wind is building or you're behind schedule, it's time to turn around. Agree on your turn-around time with your partner the night before, and stick to it when the hill gives you a reason.
Pro tip: Set your turn-around time on paper before you leave the car park. You'll make a far better call at 2 pm than at 4 pm when you're cold, hungry and talking yourself into one more pitch.
North Gully: Pushing Your Judgement
North Gully is a classic on that same grade II and III list, and it asks you to make more decisions as you go. The line is clear, but conditions can change quickly, so you're reading snow, weather and your own energy all at once.
This is where intermediate climbers often get a shock. You start to see the mountain as a whole system. Cornices, wind-loaded slopes and the way the light changes all start to matter. If you're going to get caught out anywhere, it's on a route like this when you're not paying attention.
Reading the terrain above you
Look up before you commit. Cornices on the top of a gully can give way, and wind-loaded slopes can look smooth while hiding a slab. Use the walk-in to study the line, and don't be shy about changing your plan when you see something you don't like.
Keeping the team together
Moving together on a rope is about more than the rope. It's about talking, checking each other's kit and sharing the load. Agree on signals before the wind makes shouting useless. In practice, a calm, well-organised team beats a fast one every time.
Pro tip: Ask your partner to check your harness buckles and crampon straps before each pitch (a rope length of climbing). It takes thirty seconds and catches the stuff you stop noticing after a few hours on the hill.
A'Chioch Traverse: Ridge Skills and Route Finding
Ridges change the game. Instead of climbing a gully with walls on either side, you're moving along a line with drops on one or both sides in places. The A'Chioch Traverse and Upper Connecting Ridge is a serious day out on that same grade II and III list, and it's a great next step after the gullies.
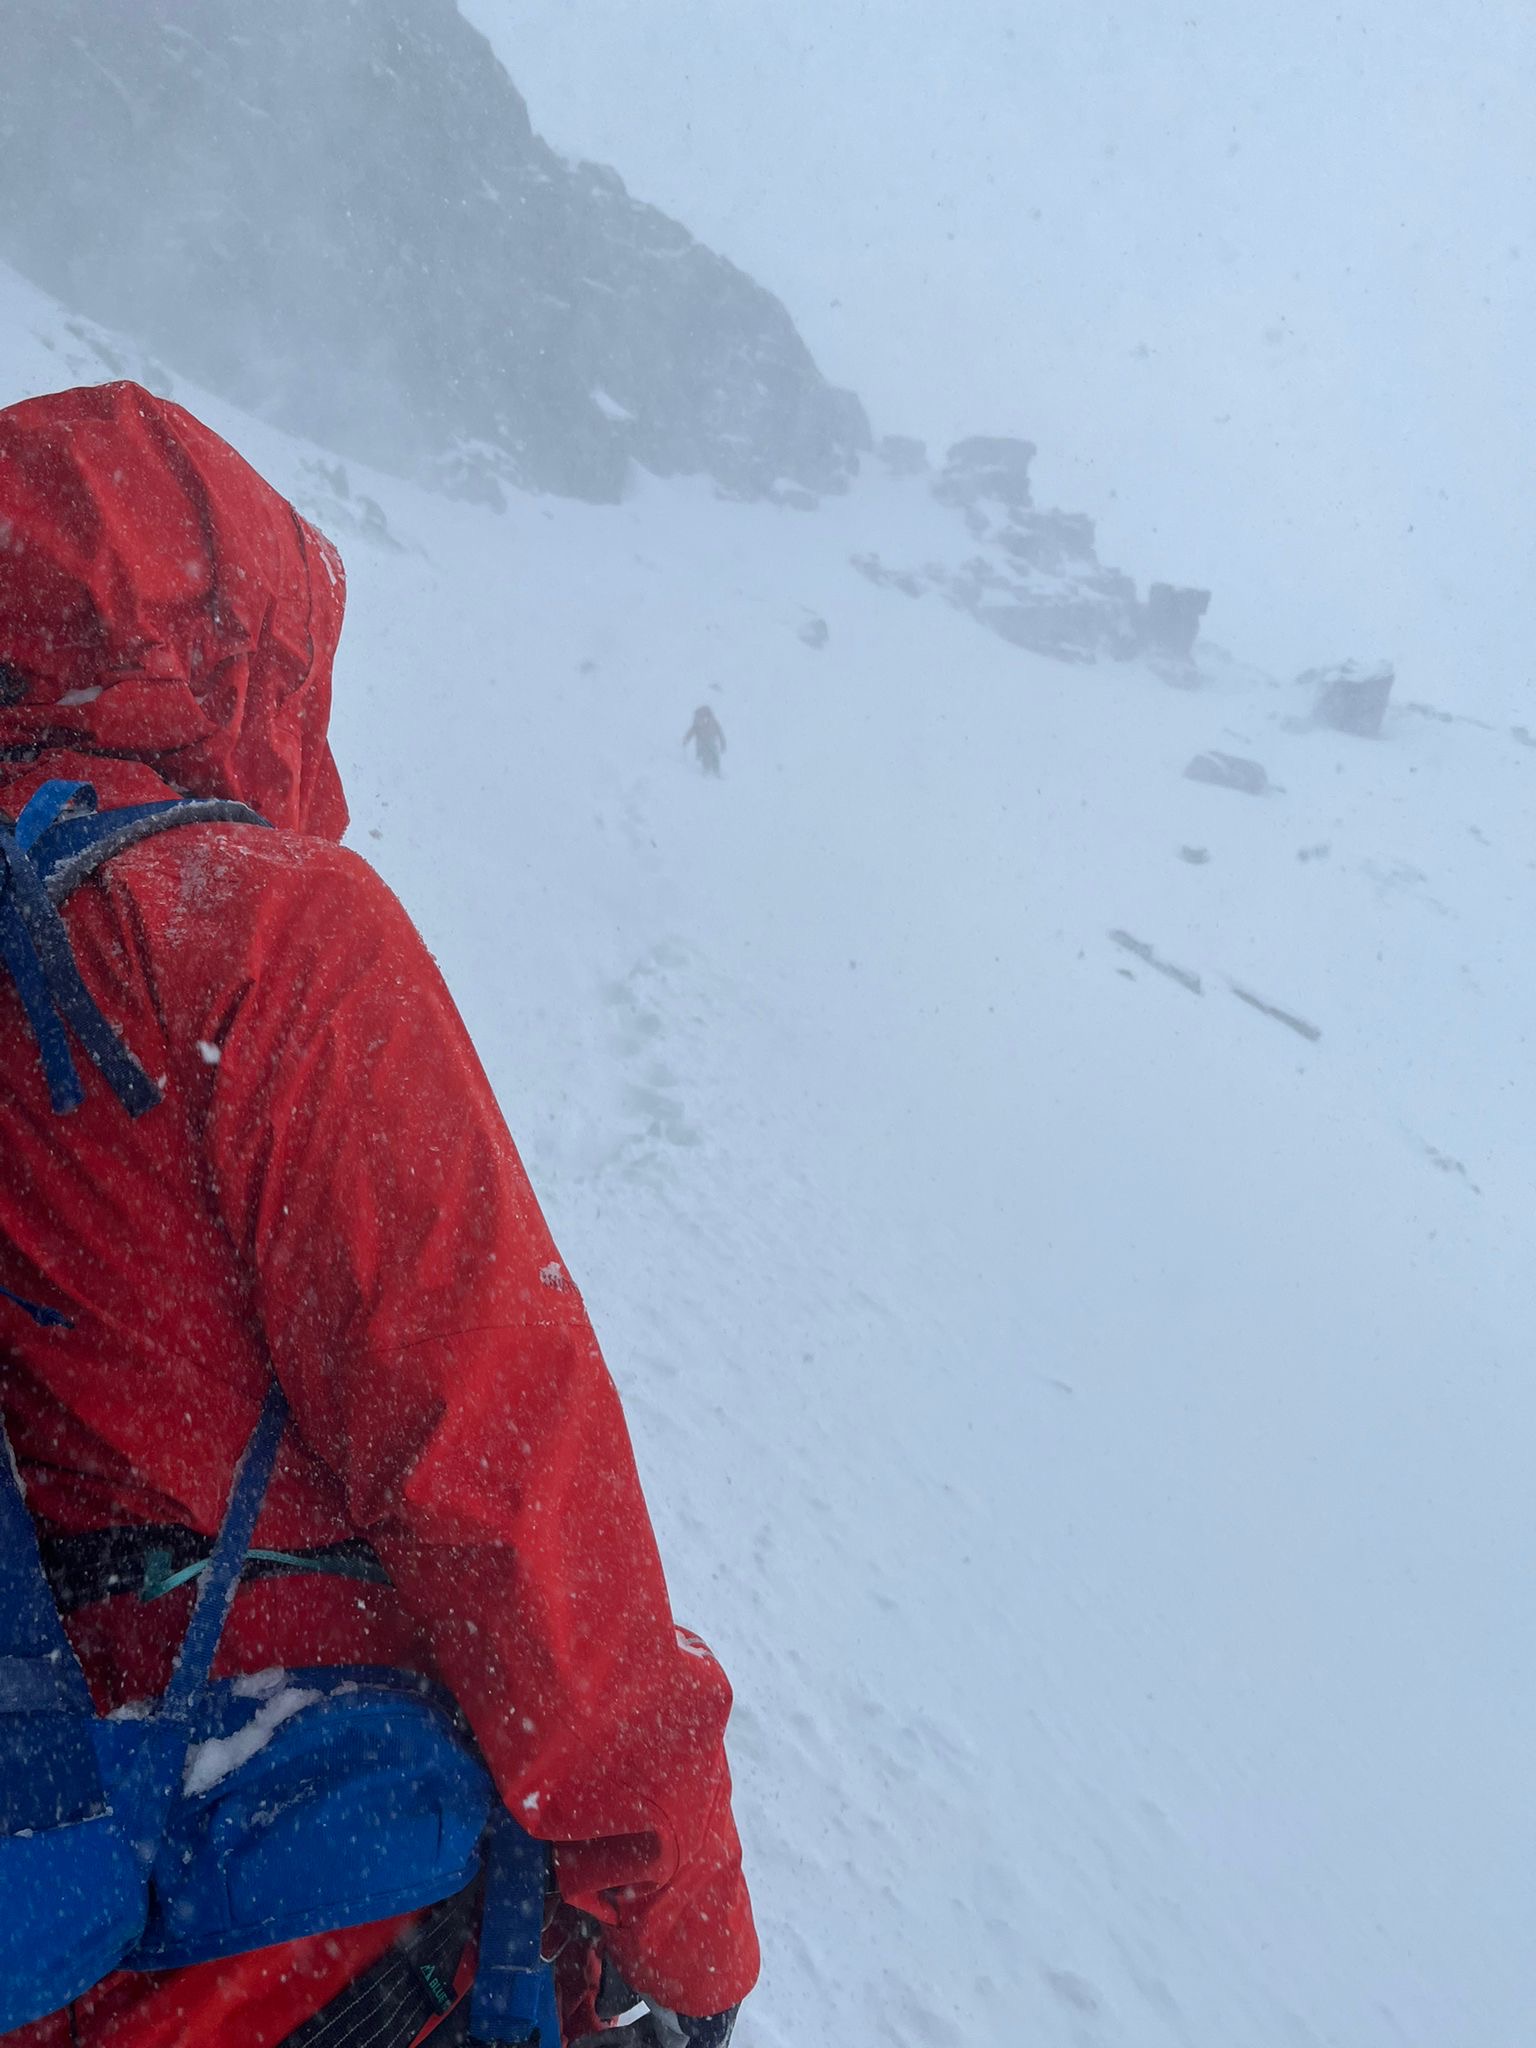
Here's what's different. You're navigating as much as you're climbing. Weather can close in fast on a ridge, and the way back may not look like the way up. If you haven't practised navigating in whiteout, don't start on a ridge.

Navigation is part of the climb
Carry a map and a compass, and know how to use them. A GPS is a great backup, but batteries don't love the cold. Plan your bearings before you start and check them at every key point, especially where the ridge splits.
Moving on exposed ground
Exposed ridges make you slow down in the right places. Keep your crampons on properly, use your axe on the side that gives you control, and don't rush the transitions. Ridge movement on snow is where a lot of intermediate climbers feel their confidence get tested for the first time.
Pro tip: Practise a compass bearing on your local hills before you go. A bearing that makes perfect sense in the car park can feel very different in thick cloud on a windy ridge.
How the Routes Compare
Here's a quick way to pick your first route. The three lines below cover most of what you'll find in the grade II and III band, and each one teaches something different. Lady's Gully and North Gully sit somewhere between them in feel, so use the table as a rough guide.
Route | What It Teaches | What to Watch Out For |
|---|---|---|
Number Four Gully | Steady gully climbing, tool placements and basic rope work | Rushing the exit when you're tired and cold |
Raeburn's Gully | Committed moves, protection placement and reading snow | Warm spells that turn firm snow into slush |
A'Chioch Traverse and Upper Connecting Ridge | Navigation, ridge movement and route choice | Weather closing in and the way back looking different |
If you're unsure, start with Number Four Gully, move on to a more committed gully, then take on a ridge. That progression works for most people. Your own confidence matters more than any list, though, so be honest about where you are.
Frequently Asked Questions
Am I ready for an intermediate Scottish winter route?
If you can move confidently in crampons, place a basic axe belay and you've spent a few days on snow with a partner, you're close. Be honest about your rope work and navigation. If any of those feel shaky, get more time on easier ground first.
Do I need a guide for these routes?
Not strictly, but a good guide cuts your learning curve a lot. They'll point out the snow hazards you'd miss and show you how the routes fit together. If you're heading out with a partner who's never been on them, a guide is well worth it.
What's the best time of year for these routes?
Winter in Scotland is unpredictable, so there's no perfect month. The best window is usually after a good freeze and some snowfall, followed by stable weather. Check conditions the day before rather than relying on the season.
Which route should I do first?
Start with Number Four Gully. It's the most forgiving of the five and lets you practise the basics without too much pressure. Move up to Raeburn's or Lady's Gully once your tool placements feel automatic.
What kit do I really need?
At minimum you need a helmet, ice axe, crampons that fit your boots, a warm layering system, waterproofs, a head torch, a map and compass, and a first aid kit. Bring a spare pair of gloves too. Don't leave the car park without a plan for the weather.
Can I learn these routes on a course?
Yes. A structured winter skills course gives you the basics in a controlled setting, which makes the step up to these routes much less stressful. It's also a good way to find out what you still need to work on before you commit to a full day on the hill.
What's the first Scottish winter route that really got under your skin, and what would you tell someone heading out on it for the first time?

Comments